Yippee Ki-yay Merry Christmas
Yippee Ki-yay Christmas Tree Decoration
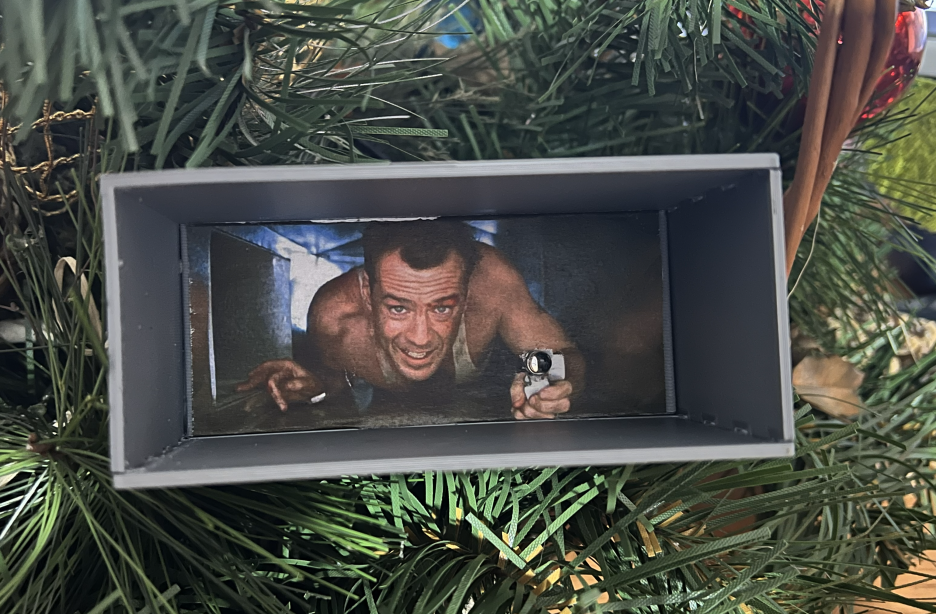
Die Hard is my wife’s and my favorite Christmas movie, so this year, inspired by the Ajaxjones project we decided to make our own version. The result was a Christmas tree decoration in the form of John McClane in the Nakatomi ventilation shaft from the first part of the film. The decoration is interactive, the lighter is actually a diode, and there is a speaker at the back of the tunnel. The whole thing is controlled by an ESP32 controller, which launches an HTTP server that can be used to turn the decoration on or off.
I extracted the mp3 files from the movie; there are exactly five of them at this point, and they are played sequentially. John’s most famous words are also included.
How is it made?
For it to work, you needed to have:
- ESP-WROOM-32 (You could probably find something cheaper, but I just happened to have ESP)
- 3D print that my wife posted on Thingiverse
- John’s photo from here
- C++ code from my repository
- 5mm 3V LED with flame effect
- Speaker 4ohm 3W 40mm YD40-18
- MAX98357A amplifier
- some wires and glue
 Prototype
How to make it
Coding
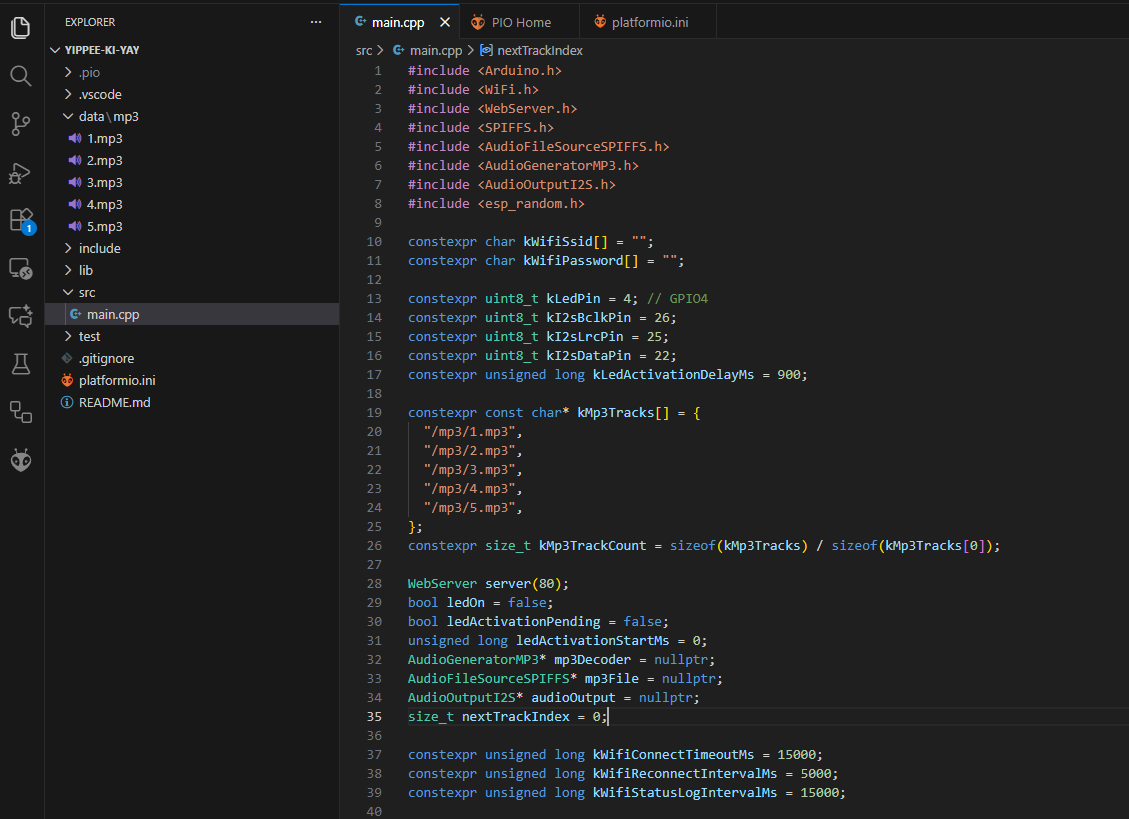
Clone the repository from and fill in the details for your Wi-Fi network in main.cpp It will also be useful to set a static IP address on the router for your ESP32.
Upload the code onto the board along with the mp3 files; I use PlatformIO in Visual Studio Code for this To upload mp3 files use Upload Filesystem Image, and to upload a binary Upload and monitor. You can add your tracks to the /data/mp3/.
LED has a 900ms delay to give John a chance to start speaking, for me it makes better immersion (and matches the sound of the lighter in file 3.mp3)
 Programming
3d printing
You can use the files created by my wife on Thingverse for printing on Thingiverse.
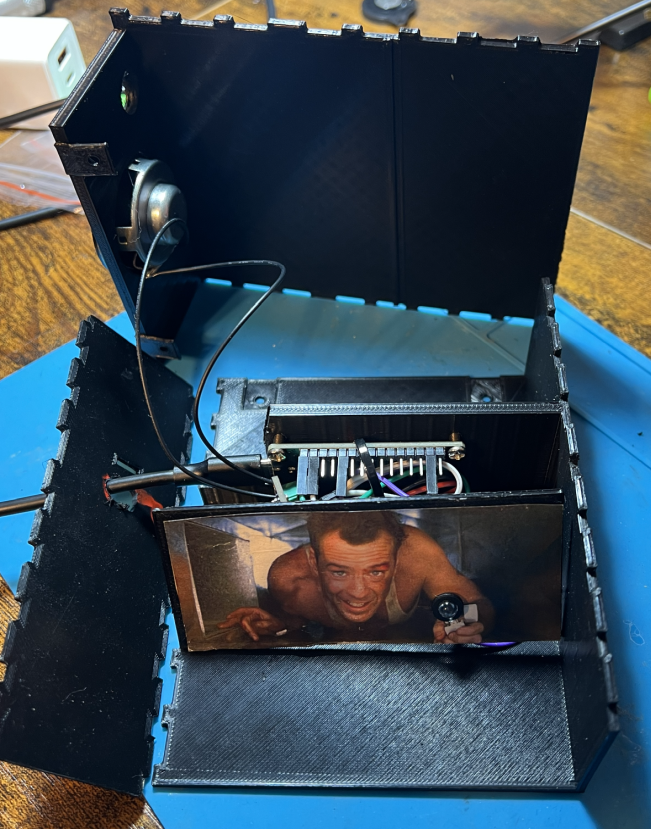
The vent shaft is divided in 3 parts for easier accessibility to mount LED light and the speaker. The walls are held together by hinges, no gluing needed. LED should hold on its own, in case of any looseness insert LED cover. Speaker has to be glued to the vent. The PCB is not mounted. Additional screws near the speaker part are not mandatory, used for better part integrity. In total, the whole box is 130x44,7 mm. Picture used is 10 mm wide - scaled version in Word document, ready to print. Hole from the front is 5,95mm in diameter (fits 5mm LED light), the speaker hole is 37mm in diameter. A port on the back to get the cables out is 15x15mm.
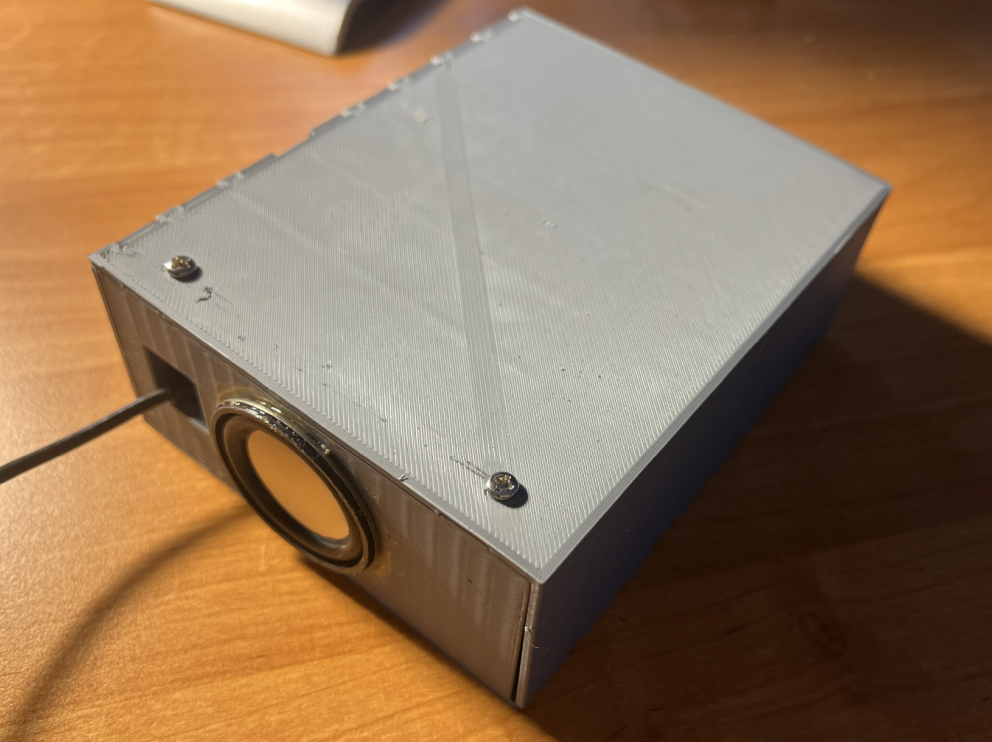
Printed with Silver Prusament on Prusa iMk3S, res 0.3mm.
 3d printed ventilation shaft
Assembly
- Connect LED to GPIO4 and GND
- Connect MAX98357A amplifier to ESP32
| BCLK | GPIO 26 |
| LRC | GPIO 25 |
| DIN | GPIO 22 |
| SD | 3V3 |
| VIN | VIN |
| GND | GND |
- Connect speaker to amplifier
- stick John to the printout, same as the speaker
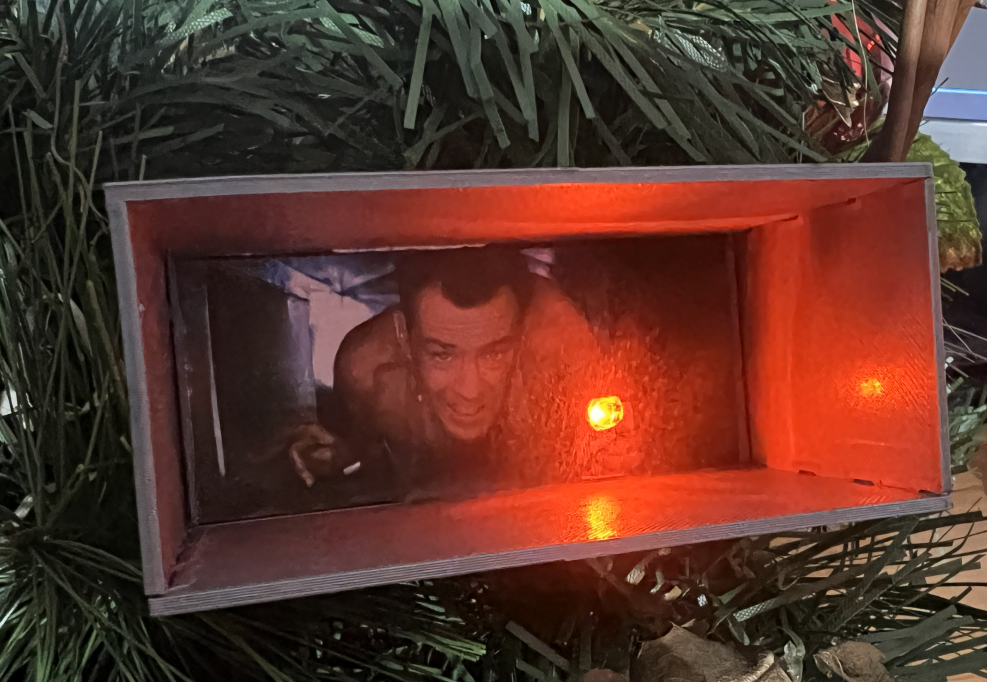 Final efect
To make it easier to use, I created a shortcut on my iPhone to action Get Headers of URL which just calls HTTP HEAD to http://ip-of-john/led, but you can also just use the regular web browser on the same /led endpoint.
It was fun to do something like this together for Christmas, and if any of you do a similar project, write about it and show it off.